Join us on Discord Follow on Twitter Buy us a coffee Follow the journal
Overview
While the Creation Kit wiki goes into step-by-step instructions on how to install the Creation Kit for Fallout 4, it does not cover what to do prior to installing. As a result, there are several common mistakes that happen to first-time users. This article will give the reader some tips to avoid making those mistakes and steps to take in correcting them if they've occurred.
Required Program
- Creation Kit (CK)
Recommended Programs
Installation and Configuration
Install and configure Steam and Fallout 4 prior to installing Creation Kit.
The instructions on the wiki do not tell users these things need to be done first. Your Steam account needs to be linked to your Bethesda.net account and Fallout 4 needs to be configured for mod authoring. Fallout 4 should be installed under ...\Steam\steamapps\common\Fallout 4.

Avoid Installing Steam to Program Files.
Keep in mind that where you have Fallout 4 installed is equally important when making modded content. You need to be in control of the directory where Steam and Fallout 4 are installed. Therefore, it is not recommended to install Steam or Fallout 4 to the Windows Program Files directory on Windows 10 due to restricted permissions in reading and writing files.
Configure Fallout 4 in Your Windows registry.
The Creation Kit needs to know where Fallout 4 is located. If you have never opened your legal copy of Fallout 4 to configure the Windows registry, you will need to do so prior to installing the Kit, otherwise, it will install to the incorrect directory. The correct directory for the Creation Kit is ...\Steam\steamapps\common\Fallout 4.
If you have accidentally installed inside Program Files, Valve offers a tutorial for moving the install directory.
Configure Fallout4Custom.ini for Mod Authoring
Enable Papyrus logging by creating a custom initialization for Fallout 4, if one does not already exist. If you have already played the game or ran the game once, the custom file should have been automatically created to log the position of the launcher window.
You will find Fallout4Custom.ini in the Fallout 4 folder of your My Games directory: C:\Users\Documents\My Games\Fallout 4. (This is the default directory. If your Fallout 4 game is configured to save files to a different folder, navigate to that one instead.)

Open Fallout4Custom.ini
If the file is not there:
- Create a new text file with Notepad++. Right-click in the white space of the folder: New > Text File
2. Rename the new text file: Fallout4Custom.ini. Be sure to delete the .txt extension.
3. Approve the change. Click OK when the Windows notification message pops up to notify you that you're changing the extension of the file.

4. Add the following information to Fallout4Custom.ini:
[Papyrus]
bEnableLogging=1
bEnableTrace=1
bLoadDebugInformation=1
bEnableProfile=1[Archive]
bInvalidateOlderFiles=1
sResourceDataDirsFinal= Archiving, Archive Invalidation, and You
Keep in mind that if you choose to add archive invalidation to your Fallout4Custom.ini, any .BA2 archive you create for your mod or any mod downloaded will be overridden by loose files in your Fallout 4 folder -- including but not limited to textures, meshes, and material files -- that are dated newer than the archives, so be sure to move any loose files to your mod's backup directory after you've tested your loose files.
Ideally, invalidating archives should only be used for debugging purposes when you have loose scripts, meshes, or textures to test. Some scripts, such as those attached to perks, will fire out of order when loose scripts are present so getting into the habit of archiving is a good idea. However, if you are using F4SE, you will need archive invalidation in order for the mods to work if you choose not to archive any scripting.
Test without loose files
Bethesda.net does not accept loose files so any testing should be done on both the loose and archived files to make sure, at the very least, that Programming by Coincidence hasn't happened.
Configure CreationKitCustom.ini for Mod Authoring
Creating a custom initialization will save you trouble when having to update and keep you from directly editing CreationKitPrefs.ini. Every time you run the Creation Kit, CreationKitPrefs.ini will change as it is designed to do. Things change each session and it must be able to preserve those changes.
- Create a new text file with Notepad++. Right-click in the white space in your Fallout 4 folder: New > Text File
2. Rename the new text file: CreationKitCustom.ini Be sure to delete the .txt extension.
3. Approve the change. Click OK when the Windows notification message pops up to notify you that you're changing the extension of the file.
4. Add the following information to your new .ini file and then save the file:
[General]
bAllowMultipleEditors=1
bAllowMultipleMasterLoads=1
bEditorHotLoading=1

[Papyrus]
sScriptSourceFolder = ".\Data\Scripts\Source\User"
sAdditionalImports = "$(Source);
.\Data\Scripts\Source\CreationClub;
.\Data\Scripts\Source\DLC06;
.\Data\Scripts\Source\DLC05;
.\Data\Scripts\Source\DLC04;
.\Data\Scripts\Source\DLC03;
.\Data\Scripts\Source\DLC02;
.\Data\Scripts\Source\DLC01;
.\Data\Scripts\Source\Base"
If you would to add additional logging for any issues with uploading to the BNet Site add the following under [General].
bBdkDetailedLocalLogging=1
iEnableLogging=1
bEnableLocalLogging=1
Explanation in Brief
bAllowMultipleEditors is a boolean command. 0 is false, 1 is true. It allows the user to open multiple copies of the Creation Kit. However, you will receive an error if you have the same file open in multiple copies and attempt to make a save of one.
bAllowMultipleMasterLoads is a boolean command. 0 is false, 1 is true. It allows the user to load multiple master data files (.esm or .esl extensions or .esp extensions with the bits flipped to mimic an .esm file - as with the case of the Unofficial Fallout 4 Patch).
bEditorHotLoading is a boolean command. 0 is false, 1 is true. This feature allows the user to keep the game open for testing and make saves in the Creation Kit (hot loading). If you are using Mod Organizer 2 (MO2) for mod management, this feature does not appear to work properly, and it is therefore advised not to use MO2 for mod authoring.
Papyrus will tell the Creation Kit which directories to open the papyrus source code zip files to. You may have to double-check that each DLC source code has been deposited to the correct directories if you installed prior to configuring your custom initialization file.
bAllowMultipleEditors functionality does not appear to work after the Creation Kit migration from the Bethesda Launcher to Steam to open multiple copies of the same game editor.bAllowMultipleMasterLoads and bAllowMultipleEditors in the custom initialization file for Skyrim's editor as well.Setting Up Your New WorkSpace
When the Creation Kit loads, you'll be presented with various windows. If you have multiple monitors set up, you can move the render window to another monitor and resize it. Configure your screen for your workflow. Make use of the View menu at the top of your screen. On Windows 10 you can snap the Menu bar to the top of your screen to increase it to the size of the background shown below:
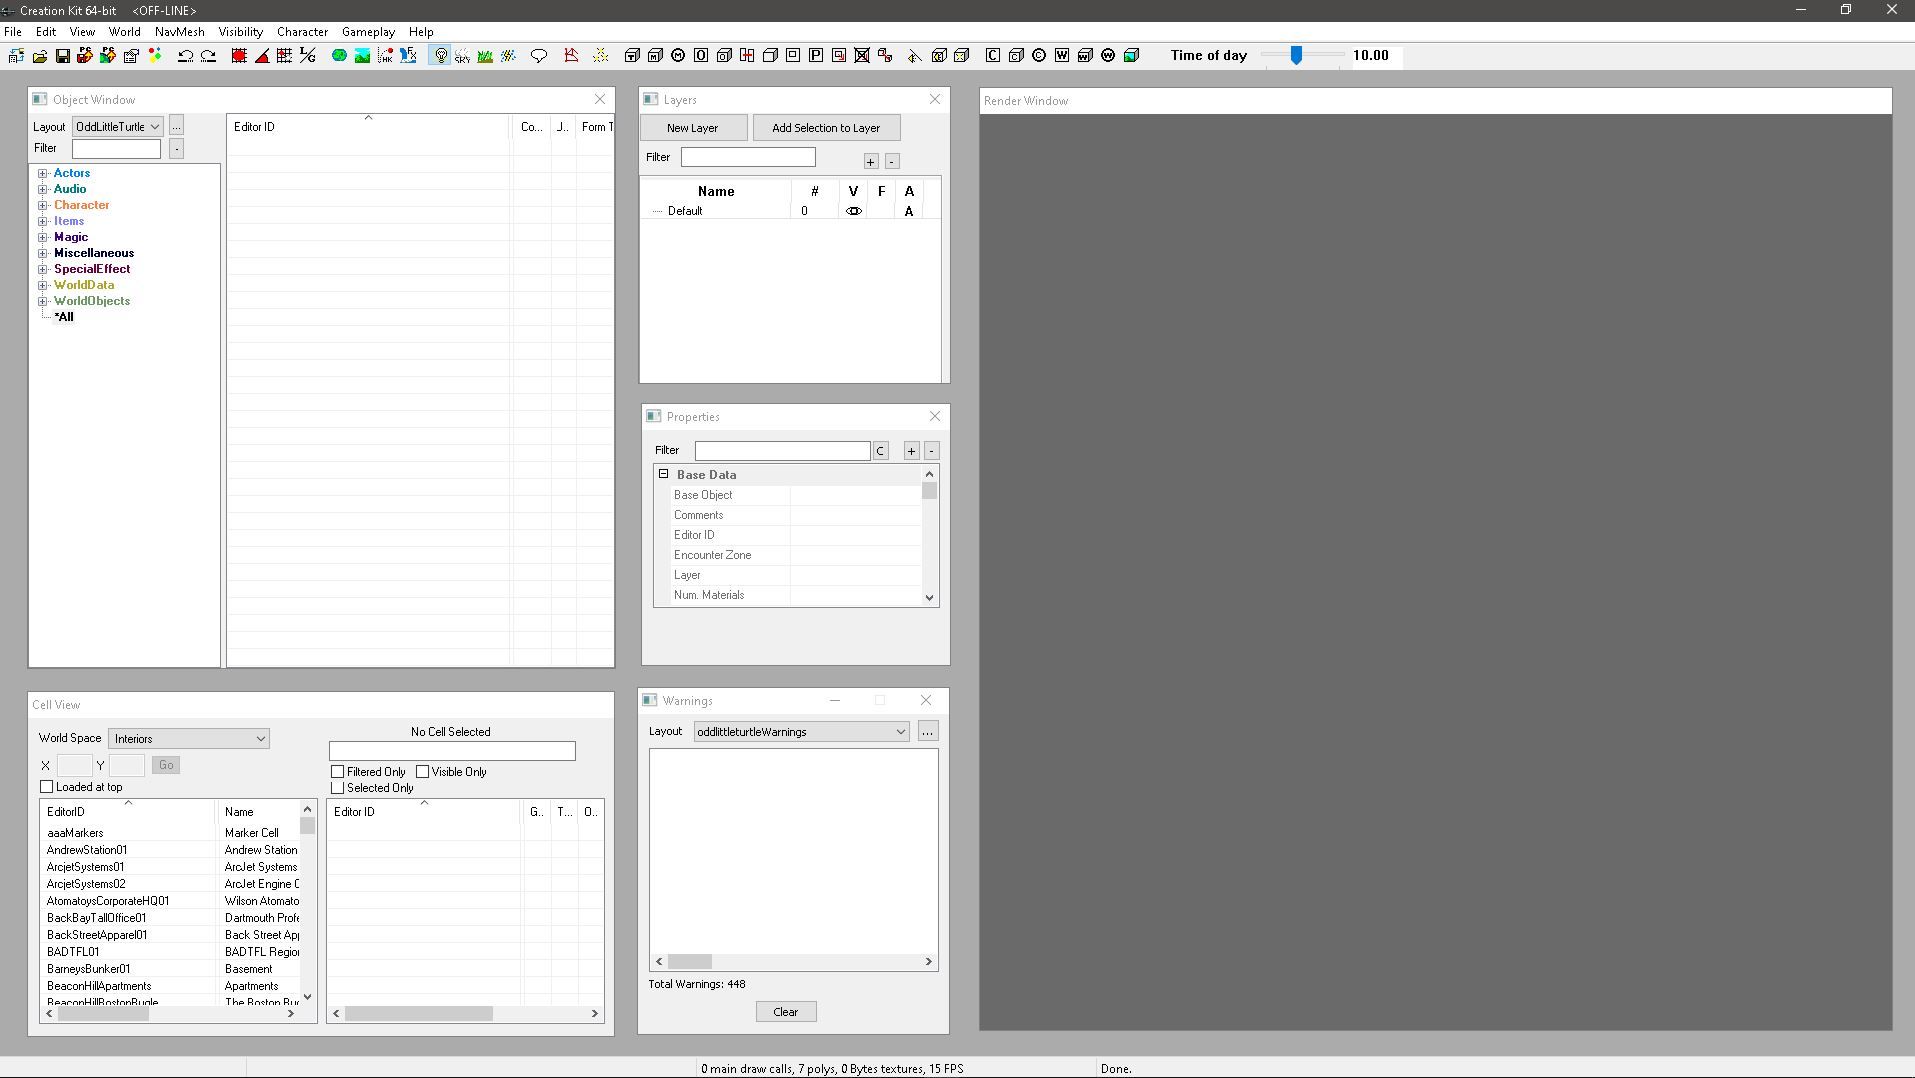
Monitor Size Considerations
There are several windows that are sized to Bethesda's monitor size and are hard coded. This has not changed from Skyrim or Fallout 4.
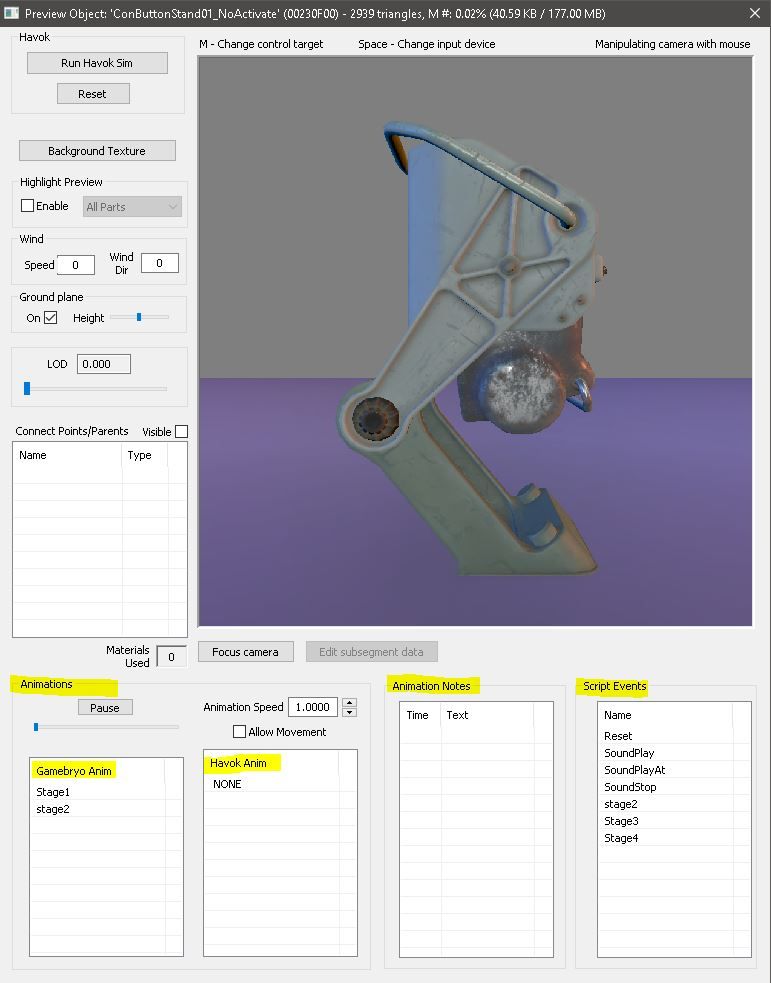
If you are modding on a laptop with a 17" screen or smaller, you are not going to be able to use the preview window very well, especially if you need to see what animations string names to use in scripts, script events on the mesh or any animation notes the devs added to the mesh. This information is located at the bottom of the window.
For example, if you needed to see what the "open" or "closed" string on a specific flashing light is in order to attach default2stateactivator.psc to a button to activate it, you would not be able to see the string. Other windows that will be problematic are the Reference Alias and Magic Effect windows.
That said, there is a program called AltDrag one can use if you have a small screen and are having difficulties with quest creations. It works very well for reaching hard-to-get-to areas on smaller screens.
Color Coding and You
Color coding is new for Fallout 4. You can color-code your Object, Warnings, and the OMOD windows. When you add colors to the layouts of Warnings for any current warning, you can double-click them from the Warnings window to go directly to the warning to address it. Previously, in Skyrim's editor, it was difficult to find current warnings, but you could click on them to find where the form generating the warning was.


The Render Window
Never Delete Vanilla Assets or References! Ever.
Doing so will cause crashes if another mod needs those assets to work and some references, such as precombined geometry or previs data, will cause serious performance issues if removed and not regenerated. To stop a reference from rendering at run-time, disable it and hide it or find and replace it with another reference.
Create layers to assist in ease of workflow.
Layers are new to Fallout 4. They are an essential part of Render Window work. Freeze base game layers and create new ones to avoid using the default layer or any of the other vanilla layers.
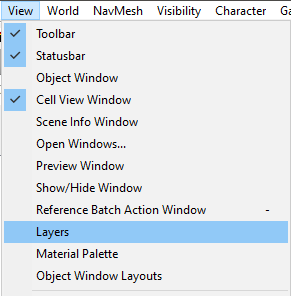
- Open the Layers Window. View > Layers
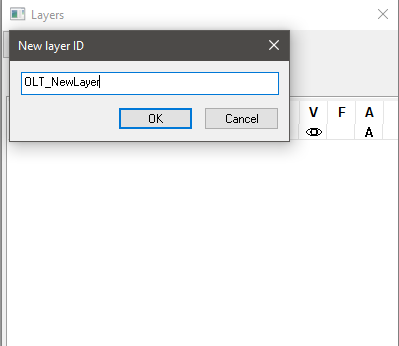
- Create a New Layer. Select Layers > New Layer
- Freeze any Layer you do not intend to use. Select Layers > Right Click > Freeze Other Layers.
- Make your New Layer the Active Layer. Select the layer and double-click in the Active Layer column (A).

- Hide any layers that are in the way. Layers > Right Click > Hide Layer
Conclusion
Modding Fallout 4 can be intimidating, but by forming a good foundation and creating an efficient workspace workflow, you will be one step closer to achieving your modding goals, creating a mod with as few conflicts as possible, and not fouling up the installation process.
Now, go create and have fun, damn it.
Further Reading
 oddlittleturtle